Yes, this is our 2014 PL Cover Page. I completed it in early Jan and forgot to post it :)
This year, I really went simple, putting only 1 large photo of us, a verse that spoke to me of how God is the One who will fulfill His Promises for us, a Twenty Fourteen card (with 'everyday kind of wonderful' in my own handwriting), and the 'this is our story' and 'so happy together' filler cards.
Our Word for 2014:
I've shared my prayer for 2014, our family's Theme or word for 2014, Dh and I also both chose a Word individually for this year. His word is GRACE and mine is CENTER.
This is what I wrote regarding CENTER as my word:
My word for this year is Center. Or to be Centered.
To be centered in the Lord, centered on His Word
To know where my center is, and not move off center.
To be centered on what matters, anchored.
Picturing less distraction, wavering, worrying, fretting, over-reacting, flustering, and instead more focus, balance, calm, joy.
Can you tell what I struggle with most of the time? :)
May I find myself more focused, balanced, calm, and joyful as I move with this word this year.
My Process and my January Pages
Let me take this chance to share a bit of how I go about pulling my month's PL pages together. I guess you can pretty much call mine a hybrid style - I mostly use digital PL supplies for photo collages, filler cards, titles, etc and get them printed out, then like to add journaling by hand onto physical PL core kit cards.
I start working on PL at the end of each month, by looking through my month's photos and memories (random stuff or thoughts jotted down on my phone or post its). A photo for each day is picked for my P365 half monthly in reviews, then I decide what stories/events/thoughts I might want to capture in more details/with more photos in PL.
For January there were 4 such stories/sections that I identified:
1. Words/Thoughts/Prayers for the year
2. R & J's birthday celebrations
3. R's living away from home and what's changing
4. Chinese New Year celebrations
First I plan by sketching the 4 sections on paper, deciding which page protector to use, which photos will go where, space for journaling, filler cards, and where I might have to use photo collages to squeeze more photos into a space. This was my rough sketch for Jan:
Then I open up photoshop and start working on the photos, ticking them off on my sketch as I 'complete' each for printing. This is our first page for January. Notice I picked up the colors for this page based on the colors of our clothes in the photo - nice!
I don't have a photo printer at home, so I bring my photos to our local photo printing shop for printing in 4R size. Thus I have to save all my PL printing in 4x6 jpegs. In the case of the first page above, all the photos for printing are in 'portrait' 6x4 sized jpegs. I set up a photoshop page sized that way, and arrange two 3x4s stacked one on top of the other for printing. Like this below, and then cut them apart for slotting into my albums.
For the large photo that spans two spaces, I bring the photo into the same 6x4 sized photoshop file, tap it all the way to the left so only the left half shows up and save that as a jpeg, then do the same for the right side. Check that the faces do not get cut off in the middle!
Happy Birthday!
The boys turned 15 and 17 respectively on 13th and 17th of January! When and how did they become all grown up?? We had a full day of celebrations, in the morning with J's friends, and in the afternoon with R's friends.
For the Design A page above, I set up my photoshop file sized 4x6 'landscape-wise' and proceed similarly. So the 3x4 photos are saved two together as one 4x6 jpeg, then cut apart after printing.
I also love to make collages, I like Tracy Larsen's Simply White Collection templates, like this one:
But also adjust them to suit the pictures, like this one.
More birthday photos, then on the right of the Design G page below, included journaling and pictures of R's moving to hostel living. I included the 'Around Here (changes edition)' post, his own words on hostel living, his room, the posters he has on his walls, and a computer screen-shot of us skyping with him! All memorable of this stage of his life!
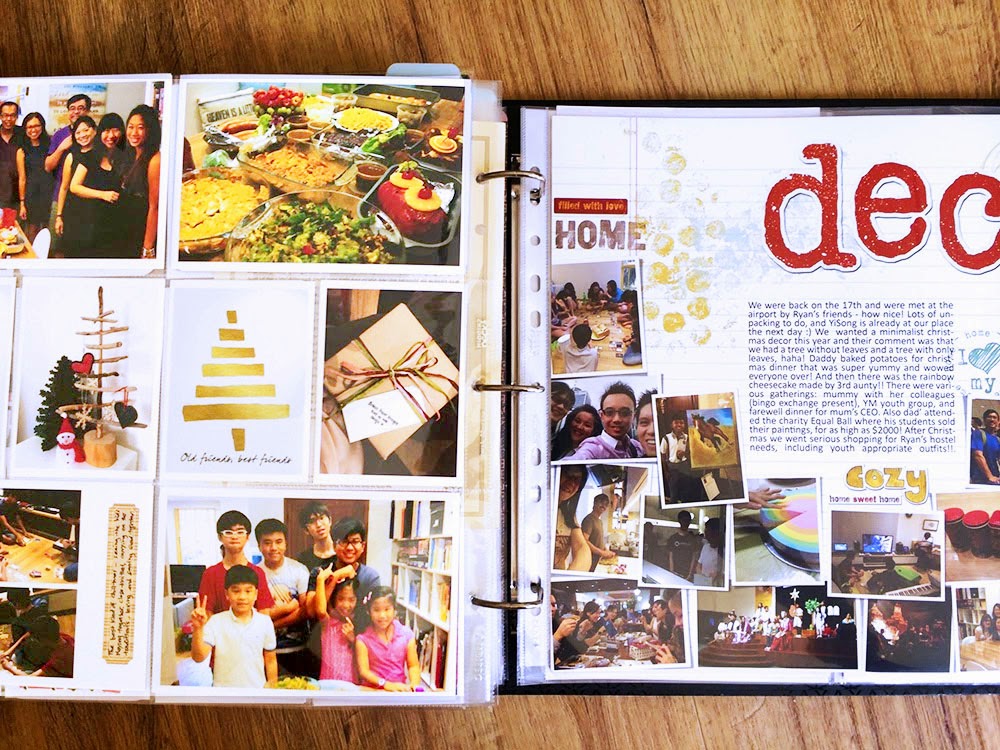
Finally, a page full of Chinese New Year goodness - dinners, visiting with family, learning mom's secret recipes, decoration and goodies around our home, all red-themed as is traditional for CNY!
It took me two nights from choosing the photos and sketching the layout, to completing the 4x6 jpegs for printing (about 4 hours in total). The next day after getting the photos, it took me another hour to cut them, slot them in, and choose the journal cards, and finish up the journaling. I would say not too long considering I only do this once a month!
Hope this was helpful for you :)
I'm linking up at The Mom Creative where Jessica hosts a Project Life Link-up with lots of inspiration!
Finally, in case you did not get the link from The Daily Digi's newsletter sent out last month, you can download this Christmas themed template here.


